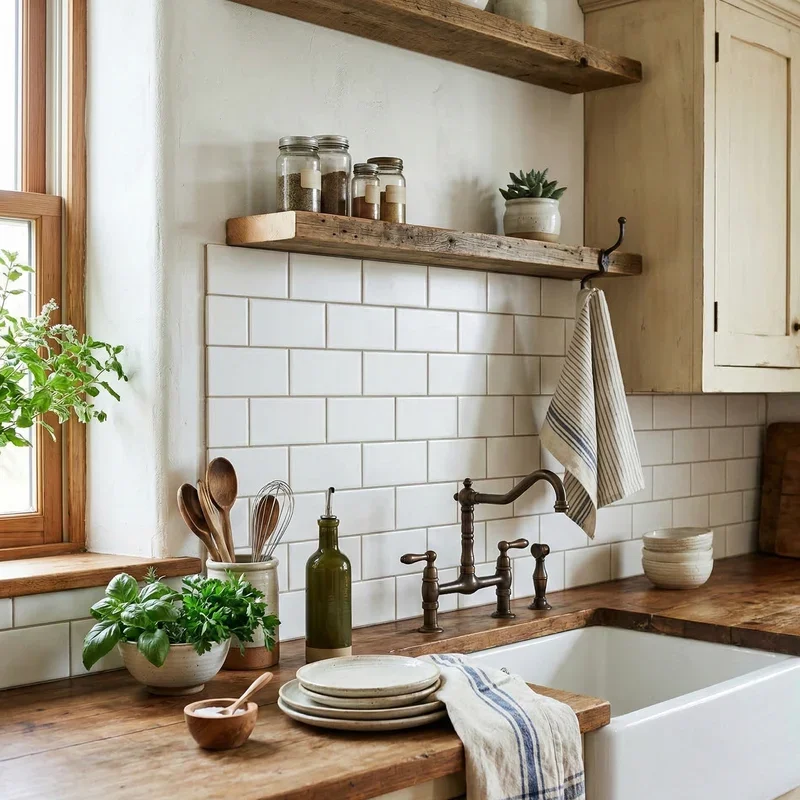
How to Hide Outlets in a Backsplash Seamlessly
Discover clever ways on how to hide outlets in a backsplash seamlessly with color matching, pop-up covers, and creative placement tricks.
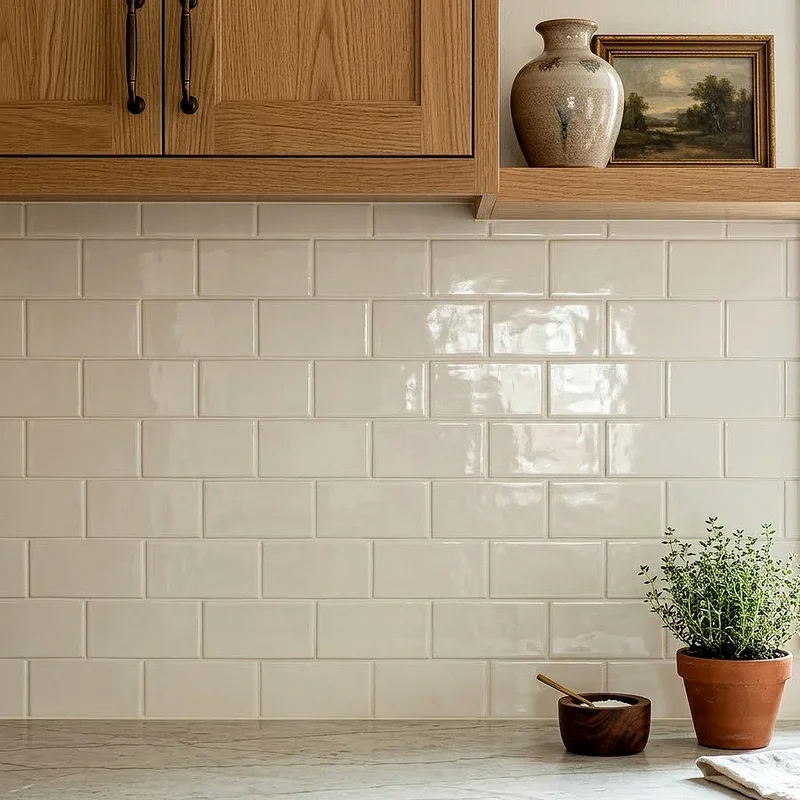
You have spent weeks picking the perfect backsplash tile, debating between subway and herringbone, only to step back and notice those ugly electrical outlets staring right at you. Talk about a buzzkill. Those little rectangular boxes can throw off the entire vibe of your kitchen or bathroom, and honestly, it drives most homeowners up the wall. But here is the good news. Learning how to hide outlets in a backsplash seamlessly is not nearly as complicated as you might think. With a handful of clever tricks and the right materials, you can make those outlets practically vanish into your beautiful tile work. Whether you are in the middle of a full kitchen renovation or just looking for a quick cosmetic fix, there are solutions that work for every budget and skill level.
Why Visible Outlets Ruin a Beautiful Backsplash
Let us be real for a second. You could install the most gorgeous backsplash in the world, and those standard white or ivory outlet covers will still stick out like a sore thumb. It is one of those small details that makes a surprisingly big difference in the overall look of a space.
Standard outlet plates were never designed with aesthetics in mind. They were built for function, and function alone. The problem is that most kitchens have anywhere from four to eight outlets along the backsplash area, and each one creates a visual interruption in your tile pattern. When you have got a continuous flow of beautiful marble or hand-painted ceramic, even a single outlet cover can break the spell.
Beyond just looking out of place, poorly integrated outlets can also create practical headaches. Ill-fitting covers leave gaps where grout should be, and those gaps collect grime, grease, and moisture over time. So this is not just about vanity. It is about keeping your kitchen clean and your backsplash in tip-top shape for years to come.
How to Hide Outlets in a Backsplash Seamlessly with Color Matching
One of the easiest and most affordable approaches is simply matching your outlet covers to your backsplash. It sounds almost too simple, right? But you would be amazed at how effective this little swap can be.
Start by picking up paintable outlet covers from your local hardware store. These come in a flat, smooth finish that accepts paint beautifully. Once you have got them, take a tile sample or a photo of your backsplash to a paint store and have them mix a custom color match. Apply two thin coats, let everything dry, and pop those covers back on. The difference is night and day.
If painting is not your thing, you can also find outlet covers in a wide range of colors and finishes. Brushed nickel, oil-rubbed bronze, matte black, and even clear options are all readily available online. For stone or marble backsplashes, some companies offer covers made from the same stone material, which creates an almost invisible result.
Another trick that works surprisingly well is covering the outlet plate with a thin piece of the same tile or a matching decorative insert. Some crafty homeowners use adhesive tile stickers that sit right on top of the cover plate. As long as you can still access the outlets when you need them, this approach gives you a near-perfect match without any permanent modifications.
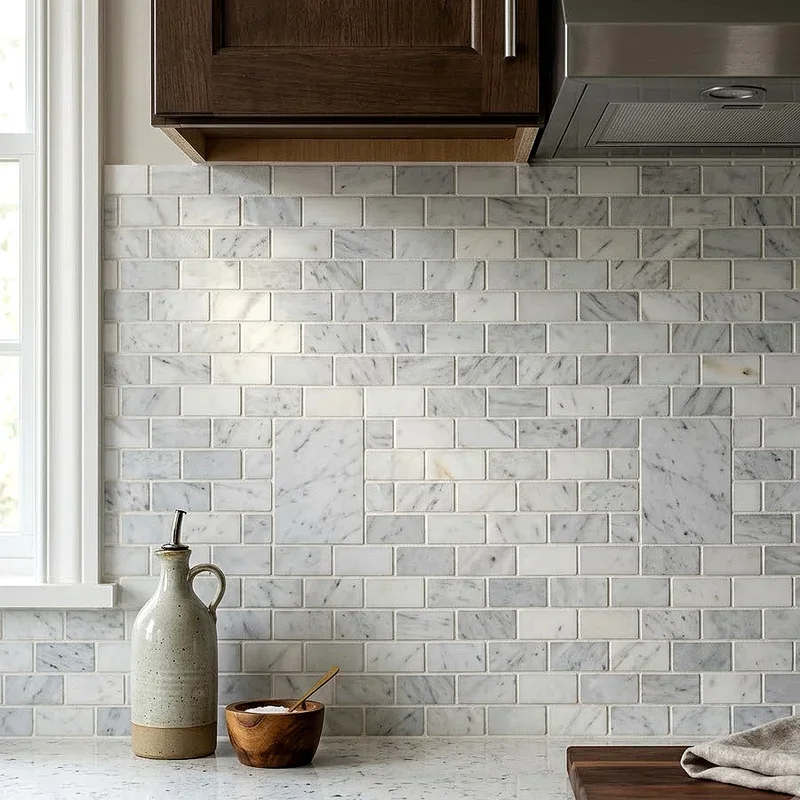
Pop-Up and Retractable Outlet Systems
Now, if you really want to go all out and make those outlets completely disappear, pop-up outlet systems are where it is at. These clever gadgets sit flush with your countertop or backsplash surface and only appear when you need them. Push them down or slide them back, and they vanish entirely.
Countertop pop-up outlets are the most popular option in this category. They install directly into the countertop surface and spring up with a gentle push. When you are done charging your phone or using the blender, just push them back down. The result is a completely clean backsplash with zero visual interruptions.
There are also under-cabinet power strips that mount beneath your upper cabinets, keeping the backsplash completely free of outlets. These strips typically include multiple outlets and USB ports, and they angle downward so you can easily plug things in without even looking at the backsplash. Honestly, once you try this setup, you will wonder why every kitchen does not come with it standard.
For folks who want something a bit more high-tech, motorized pop-up towers are available that rise from the countertop at the touch of a button. They look incredibly sleek and work like a charm. Just keep in mind that these systems typically require professional installation and a bit more investment upfront. But for a truly seamless look, they are hard to beat.
Repositioning Outlets Before Tile Installation
If you are still in the planning stages of your backsplash project, you have got a golden opportunity here. Moving outlets before the tile goes up is way easier than trying to work around them after the fact.
Talk to your electrician about relocating outlets to less noticeable spots. Under the upper cabinets is a fantastic option because those outlets get hidden from view entirely. Behind appliances that stay plugged in, like your coffee maker or toaster oven, is another smart spot. You are going to cover those outlets with the appliance anyway, so who cares what they look like?
Some homeowners opt to move outlets down below the countertop line, installing them in the side panels of lower cabinets or underneath overhangs. This keeps the entire backsplash area outlet-free, which gives you the cleanest possible look. Just make sure the relocated outlets still meet local building codes, because electrical codes exist for good reason.
If moving outlets is not in the budget, at least consider adjusting their positions slightly so they fall at natural breaking points in the tile pattern. Centering an outlet within a single tile, for instance, looks way better than having it straddle two tiles awkwardly. A good tile installer will know exactly how to plan the layout to minimize the visual impact.
Flush-Mount Outlet Covers and Plates
Flush-mount covers are kind of a middle ground between basic color matching and full-blown pop-up systems. These plates sit perfectly level with the surrounding tile surface instead of protruding outward like traditional covers.
The beauty of flush-mount plates is that they eliminate the shadow lines and raised edges that make standard outlet covers so noticeable. When installed correctly, they create a smooth, continuous surface that your eye just glides right over. Paired with a good color match, these covers can make outlets nearly invisible.
You can find flush-mount kits designed specifically for tile backsplashes. These kits include a recessed box that sits behind the wall, allowing the cover plate to sit perfectly flush with the tile. Installation does require a bit more work than simply swapping out a standard cover, but the results are absolutely worth the effort.
One thing to keep in mind is that flush-mount installations work best when planned before tiling. Retrofitting them into an existing backsplash is doable but trickier. If you are tiling from scratch, mention the flush-mount option to your contractor early in the process so everything gets framed out correctly from the start.
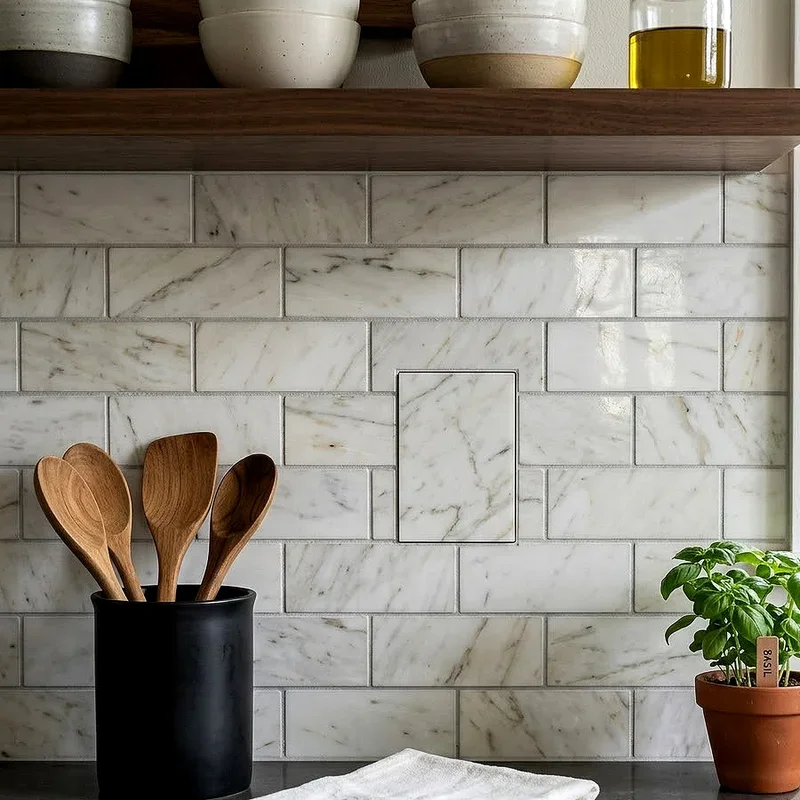
Using Decorative Outlet Covers as Design Elements
Sometimes the best way to hide something is to stop trying to hide it altogether. Wait, hear me out. If you cannot make an outlet disappear, why not turn it into a design feature instead?
Decorative outlet covers come in an incredible variety of styles, from handcrafted ceramic pieces to laser-cut metal designs. You can find covers that mimic the look of vintage hardware, ornate ironwork, or modern geometric patterns. When chosen thoughtfully, these covers become part of the backsplash design rather than an interruption.
For tile backsplashes with a rustic or farmhouse feel, hammered copper or wrought iron covers add character and charm. In a sleek, contemporary kitchen, try matte black or brushed stainless covers that echo the finish of your fixtures and hardware. The key is picking something that complements your existing design language rather than competing with it.
Custom tile outlet covers are another brilliant option. Some tile manufacturers and artisan shops will create covers using the exact same material as your backsplash tiles. These pieces are made to order and fit right over the standard outlet box. When the grout lines match up, these custom covers blend so seamlessly that guests will have trouble spotting the outlets at all.
Working with Glass and Solid Surface Backsplashes
Glass backsplashes and solid surface materials like quartz or engineered stone present their own unique challenges when it comes to outlet integration. You cannot exactly paint over these or stick a tile on top, so you need a different game plan.
For glass backsplashes, the standard approach is to have the glass fabricator cut precise openings for each outlet. The outlet cover then sits on top of the glass surface. To minimize visibility, use a glass outlet cover that matches the backsplash color and sheen. Some fabricators can even create covers from the same glass material, which gives you the cleanest possible look.
With solid surface backsplashes, pop-up outlets become especially attractive. Since the material is continuous and uniform, any outlet cover is going to create some kind of visual break. Eliminating the outlet from the backsplash surface entirely by using under-cabinet or countertop-mounted alternatives solves this problem completely.
If outlets must remain in the backsplash surface, talk to your fabricator about integrating them as seamlessly as possible. They can often adjust the cutout positioning and recommend covers that sit as flush as possible with the material. Every little detail matters when you are working with these clean, continuous surfaces.
How to Hide Outlets in a Backsplash Seamlessly on a Budget
Not everyone has the budget for motorized pop-up towers or custom fabricated covers, and that is perfectly fine. There are plenty of wallet-friendly ways to disguise those outlets without breaking the bank.
Paintable outlet covers cost just a few dollars each and make a huge difference when color-matched properly. A small sample pot of paint is usually enough to cover every outlet in your kitchen, so the total investment is minimal. Add a coat of clear sealant on top and those painted covers will stay looking fresh for years.
Adhesive decorative films and vinyl wraps are another budget-friendly option. You can find wraps that mimic marble, wood grain, subway tile, and just about any other finish you can imagine. They peel and stick right onto your existing outlet covers and can be swapped out whenever you feel like a change.
Simple placement tricks also cost nothing at all. Strategically positioning small appliances, a cookbook stand, or a decorative cutting board in front of outlets keeps them hidden without any modifications whatsoever. It is not the most elegant solution, but it works in a pinch and you can change things up whenever the mood strikes.
Common Mistakes to Avoid
Before you jump into this project headfirst, there are a few pitfalls worth knowing about. Avoiding these common mistakes will save you time, money, and a whole lot of frustration down the road.
First off, never permanently cover or seal an electrical outlet. Building codes require that outlets remain accessible, and blocking them creates a serious safety hazard. Whatever method you choose, you need to be able to reach the outlet and plug things in when necessary.
Second, make sure any covers or modifications you use are rated for electrical applications. Regular paint is fine for outlet covers, but make sure the cover itself is UL-listed and approved for use with your specific outlet type. Cutting corners on electrical safety is never a good idea.
Third, do not forget about ground fault circuit interrupter requirements. Kitchen and bathroom outlets near water sources need GFCI protection, and your concealment method needs to accommodate the GFCI reset buttons. Some flush-mount and decorative covers are not compatible with GFCI outlets, so double check before you buy.
Finally, think about future access. Someday you might need to replace an outlet, update wiring, or troubleshoot an electrical issue. Choose a concealment method that allows for easy removal and reinstallation so your electrician does not have to destroy your beautiful backsplash to do their job.
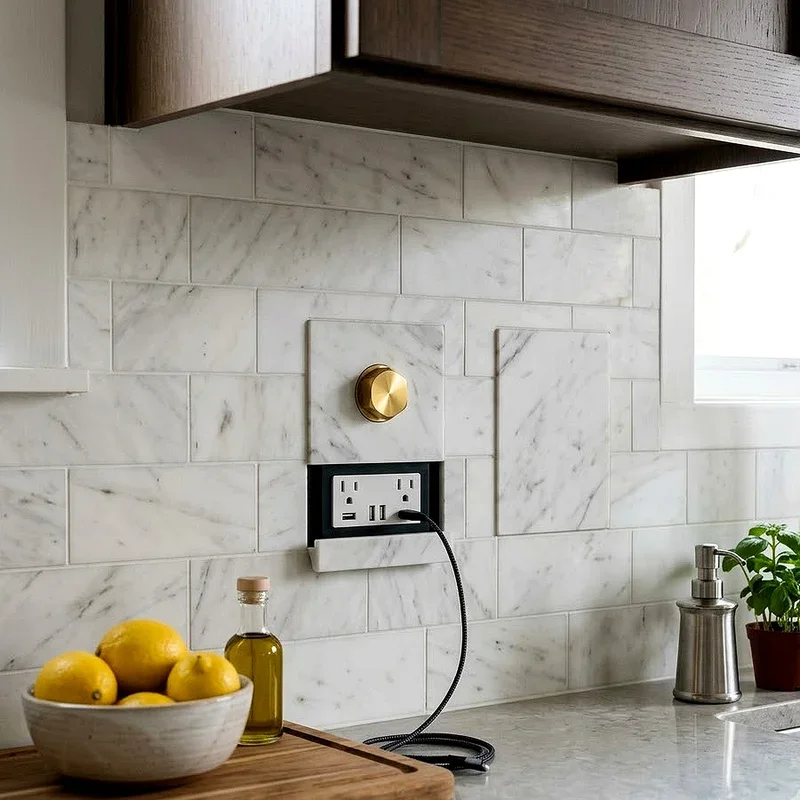
Step by Step Guide to Installing Flush Outlet Covers
Getting those flush covers installed properly takes a bit of patience, but the process is straightforward enough for a confident do-it-yourselfer. Here is how to tackle it.
Start by turning off the power to the outlet at the breaker box. Never skip this step, even if you are just swapping out a cover plate. Test the outlet with a voltage tester to confirm the power is off before you touch anything.
Remove the existing cover plate and outlet from the electrical box. Take a good look at the box itself and note how much space you have to work with. Flush-mount kits typically require a specific box depth, so measure carefully and compare against the kit specifications.
Install the recessed mounting bracket according to the kit instructions. This bracket sits inside the electrical box and provides the framework for the flush cover plate. Make sure everything is level and secure before moving on.
Reinstall the outlet into the recessed bracket, reconnect the wiring, and attach the flush cover plate. The cover should sit perfectly level with the surrounding tile surface. If it sticks out even slightly, adjust the bracket depth until everything lines up just right.
Turn the power back on and test the outlet. Plug something in to make sure everything works correctly, and inspect the cover from different angles to confirm it sits flush and looks good. Standing back and admiring your handiwork is strongly encouraged at this point.
Conclusion
Figuring out how to hide outlets in a backsplash seamlessly does not have to be a headache. Whether you go with simple color-matched covers, invest in pop-up outlet systems, or get creative with decorative plates, there is an option for every style and budget. The key is planning ahead and choosing a method that works with your specific backsplash material and kitchen layout. With a little thought and effort, those pesky outlets will blend right in, and your backsplash will finally get the spotlight it deserves.
Read next: 15 Wallpaper Backsplash Ideas for a Stylish Kitchen Look
Frequently Asked Questions
Q1. Can I paint outlet covers to match my backsplash tile?
A: Yes, paintable outlet covers accept custom-matched paint colors and blend beautifully with tile backsplashes.
Q2. Are pop-up outlets safe to use in kitchens?
A: Absolutely, pop-up outlets are UL-listed and designed specifically for safe kitchen countertop use.
Q3. Do I need an electrician to relocate outlets before tiling?
A: Yes, a licensed electrician should handle any outlet relocation to ensure proper code compliance.
Q4. What is the cheapest way to hide outlets in a backsplash?
A: Painting outlet covers to match your backsplash is the most affordable and effective budget option.
Q5. Can flush-mount outlet covers work with GFCI outlets?
A: Some flush-mount covers accommodate GFCI outlets, but always verify compatibility before purchasing the kit.
Stay up to date with our latest ideas!