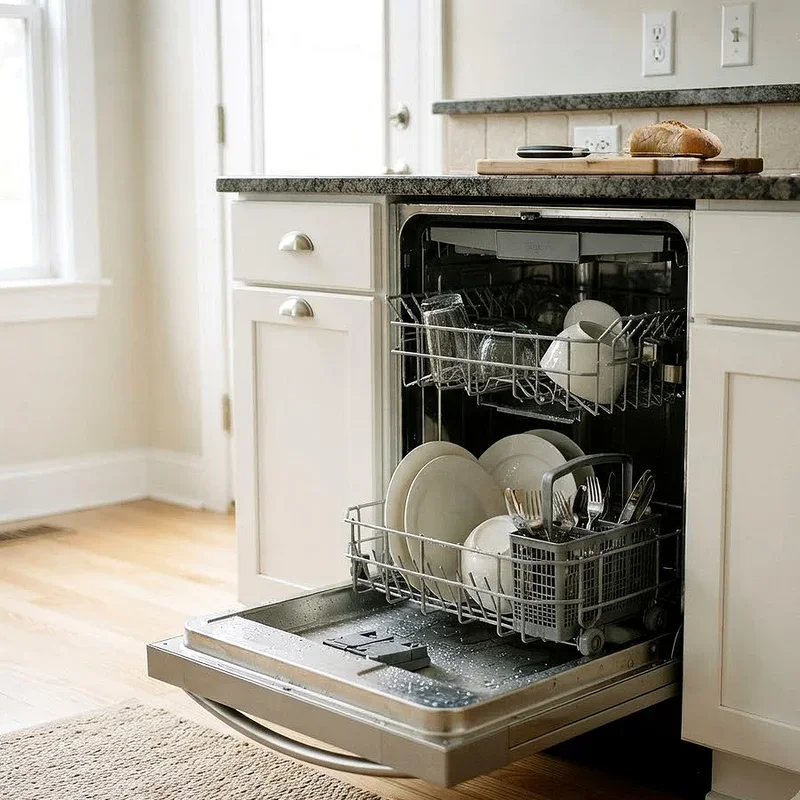
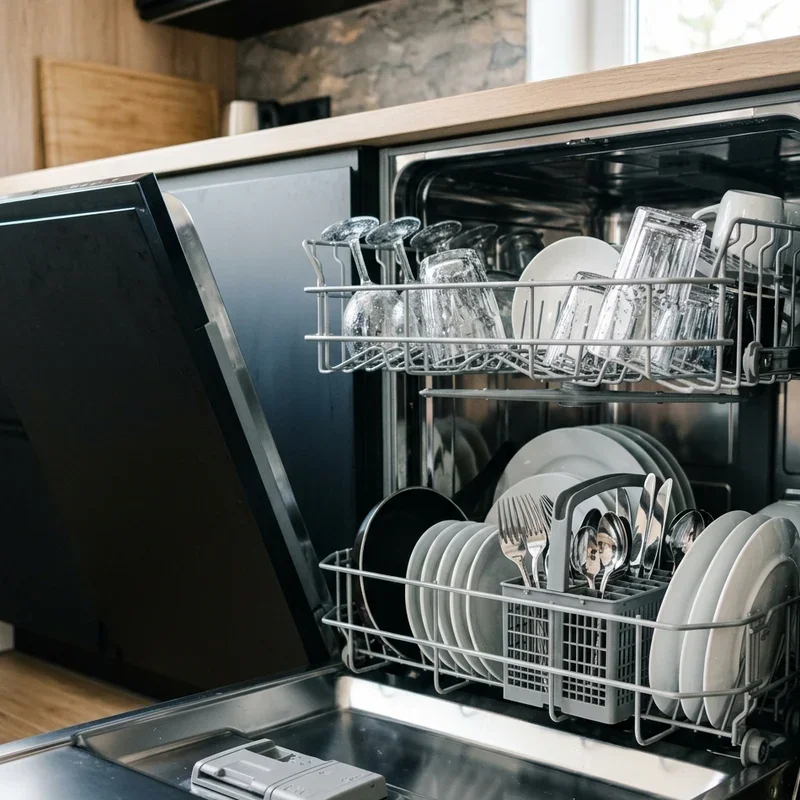
Learn how to level a dishwasher step by step with easy tips, tools, and tricks to stop leaks, noise, and wobbly frustration for good.
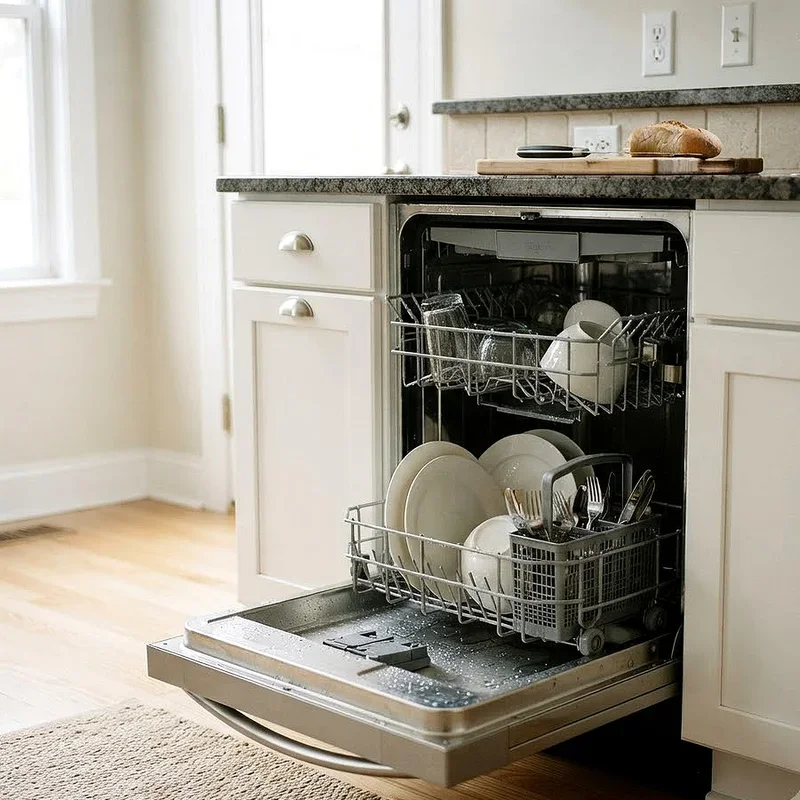
So your dishwasher has been rocking back and forth like a boat on choppy water every time it hits the spin cycle, huh? You're not alone. A wobbly dishwasher is one of those little household annoyances that starts off as a minor irritation and slowly drives you up the wall. The good news is that you don't need to call a repair technician or spend a fortune to fix it. Learning how to level a dishwasher step by step is surprisingly simple, and most folks can knock it out in under thirty minutes with basic tools they already have lying around in a junk drawer.
Why Does a Dishwasher Need to Be Level Anyway?
Before jumping into the nuts and bolts of the process, it helps to understand why leveling matters so much in the first place. A dishwasher relies on gravity to drain water after each cycle. If the machine tilts even slightly in the wrong direction, water can get trapped inside, creating a breeding ground for mold and funky odors nobody wants wafting through the kitchen.
Beyond drainage, a level dishwasher ensures that the door creates a proper seal when closed. That rubber gasket running along the edges needs consistent pressure all the way around. When one side sits higher than the other, gaps can form, and before you know it, you've got water sneaking out onto your floor during a wash. Over the course of weeks and months, even tiny leaks can warp hardwood, peel up vinyl, or cause water damage that costs a pretty penny to repair.
There's also the noise factor. An unlevel dishwasher vibrates more than it should, especially during heavy wash and drain cycles. Those vibrations travel through your cabinetry and countertops, amplifying the sound until it feels like a small earthquake is happening in your kitchen every evening. Getting things level eliminates most of that racket and makes your kitchen a much more pleasant place to hang out.
Tools and Materials You Will Need
Gathering your supplies before you start is always a smart move. There's nothing more frustrating than getting halfway through a job and realizing you need to dig through the garage for a missing tool. Here's what you should have on hand:
* A standard bubble level, sometimes called a spirit level, roughly twelve to twenty four inches long * An adjustable wrench or a pair of pliers * A flat head screwdriver, which can come in handy for prying off the kickplate * A flashlight or headlamp so you can see what you're doing down near the floor * A towel or old rag to wipe up any water that might drip when you pull the machine forward * The owner's manual, if you still have it, since it can show you exactly where the leveling legs are located on your specific model
Most of these items are things the average homeowner already has at home. If you're missing a bubble level, they're inexpensive and widely available at any hardware store. It's one of those tools that pays for itself over and over once you have one.
How to Level a Dishwasher Step by Step
Alright, now we're getting to the good stuff. This is the part where you roll up your sleeves and actually fix the problem. Don't worry, it's not rocket science. Just follow along, take your time, and you'll have that dishwasher sitting steady before you know it.
Step 1: Turn Off the Power and Water Supply
Safety first, always. Before you do anything else, disconnect the dishwasher from its power source. If it's hardwired into your home's electrical system, flip the appropriate breaker at your panel box. For plug in models, simply unplug it from the wall outlet. While you're at it, turn off the water supply valve under the sink. You probably won't be disconnecting any water lines, but it's better to be safe than sorry.
Step 2: Remove the Kickplate
The kickplate, sometimes called a toe panel, is the narrow panel at the bottom front of your dishwasher. It's usually held in place by one or two screws, or it might just snap on and off. Use your screwdriver to remove it and set it aside somewhere you won't trip over it. Once the kickplate is off, you'll be able to see the two front leveling legs and, depending on your model, the adjustment mechanisms for the rear legs as well.
Step 3: Check the Current Level
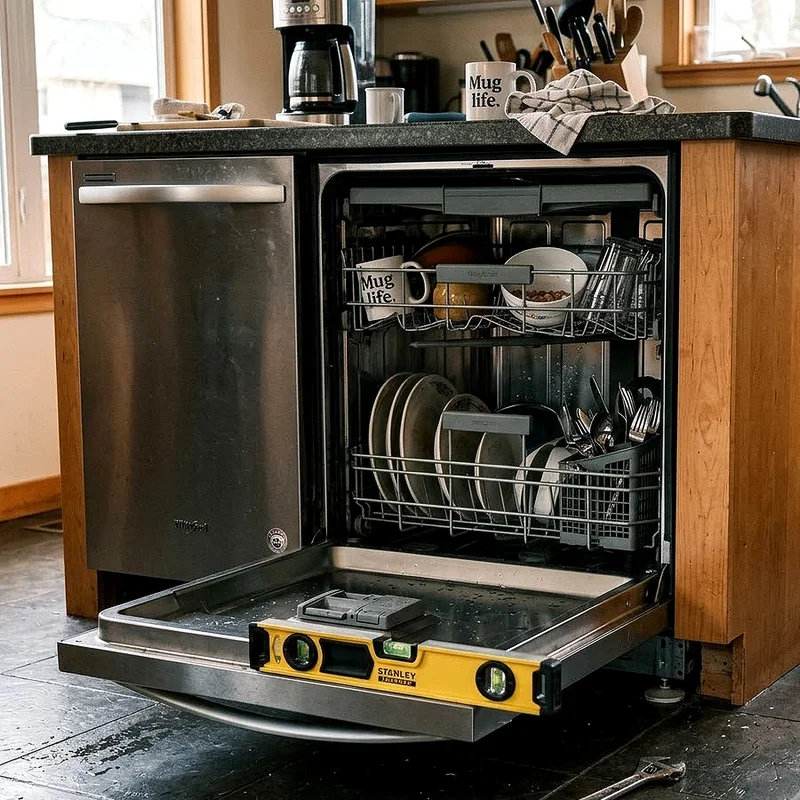
Grab your bubble level and place it on the bottom of the dishwasher door opening, right on the tub floor if possible. Check it from side to side first. The bubble should rest perfectly centered between the two lines on the level. If it drifts to one side, that tells you which direction the machine is leaning. Next, place the level going from front to back. Ideally, the dishwasher should be perfectly level side to side and ever so slightly tilted toward the back from front to rear. That tiny backward tilt helps water flow toward the drain at the rear of the tub.
Step 4: Locate the Leveling Legs
Every dishwasher sits on adjustable legs, typically two in the front and either two fixed legs or a set of adjustable ones in the back. The front legs are the ones you'll be working with most of the time. They look like threaded bolts or screws extending down from the bottom corners of the machine. Some models have a hex nut that you turn to raise or lower the leg, while others use a simple screw mechanism that you twist with pliers.
Step 5: Adjust the Front Legs
Here's where the magic happens. To raise a corner of the dishwasher, you'll turn the corresponding leg clockwise, which threads it downward and pushes that corner up. To lower a corner, turn the leg counterclockwise. It's just like screwing and unscrewing a bolt.
Make small adjustments, maybe a quarter turn or half turn at a time. After each adjustment, go back and check with your level again. It's a bit of a back and forth dance, and you might need several rounds of adjusting and checking before you get it spot on. Patience is key here. Rushing through this part is the quickest way to end up going in circles.
Step 6: Adjust the Rear Legs if Necessary
Some dishwashers have rear legs that can be adjusted from the front using a special screw mechanism. Check your owner's manual to see if your model has this feature. If the rear legs are independently adjustable, you can reach them through the opening at the bottom front of the machine. Use your wrench to turn the adjustment screw and bring the rear into alignment.
If your dishwasher has fixed rear legs that can't be adjusted, don't panic. In most cases, getting the front legs right will solve the problem. You can also slip thin shims under the rear legs if needed, though this is rarely necessary with modern machines.
Step 7: Verify the Level One More Time
After you've made your adjustments, do one final check with the level. Place it side to side and front to back again. Everything should be sitting nice and even. Give the dishwasher a gentle push from the front and from the side to make sure it doesn't rock or wobble. If it stays perfectly still, congratulations, you've nailed it.
Step 8: Secure the Dishwasher to the Countertop
Most dishwashers have mounting brackets at the top that screw into the underside of your countertop. These brackets prevent the machine from tipping forward when you load the lower rack. Check that these screws are tight and secure. If you removed them during the process, now is the time to put them back. This step is especially important if you have a stone or granite countertop, since the dishwasher relies entirely on these brackets to stay in place.
Step 9: Replace the Kickplate and Restore Power
Pop the kickplate back on, tighten any screws you removed, and plug the machine back in or flip the breaker back on. Turn the water supply valve back to the open position. Run a short rinse cycle to make sure everything is draining properly and that no water leaks around the door seal. Stand back and admire your handiwork, because you just handled it like a pro.
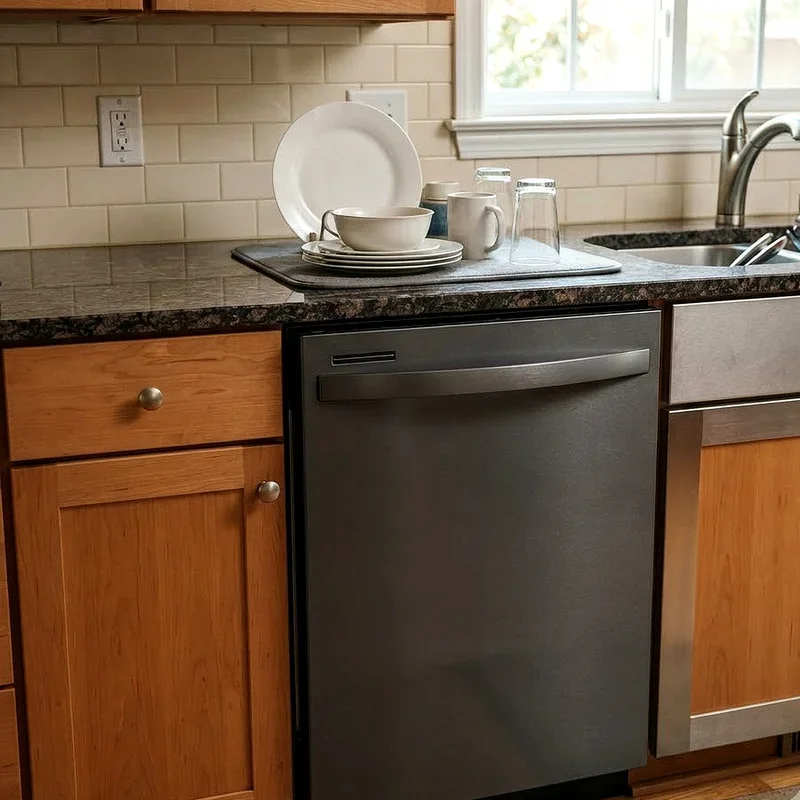
Common Mistakes to Avoid When Leveling Your Dishwasher
Even though the process is straightforward, there are a few pitfalls that catch people off guard. One of the biggest mistakes is making adjustments that are too large. When you crank a leg a full turn or more at a time, you overshoot the mark and end up chasing the level back and forth. Small, incremental turns are the way to go.
Another common error is forgetting to check both directions. A dishwasher can be perfectly level from left to right but still tilted too far forward or backward. Always check both axes before calling it done.
Some folks also forget to tighten the lock nuts on the leveling legs after they've made their adjustments. Many dishwasher legs have a small nut that sits against the base of the machine. Once the leg is in the correct position, you tighten that nut up snug to prevent the leg from vibrating loose over time. Skipping this step means you might be redoing the whole job in a few months.
Signs Your Dishwasher Might Be Out of Level
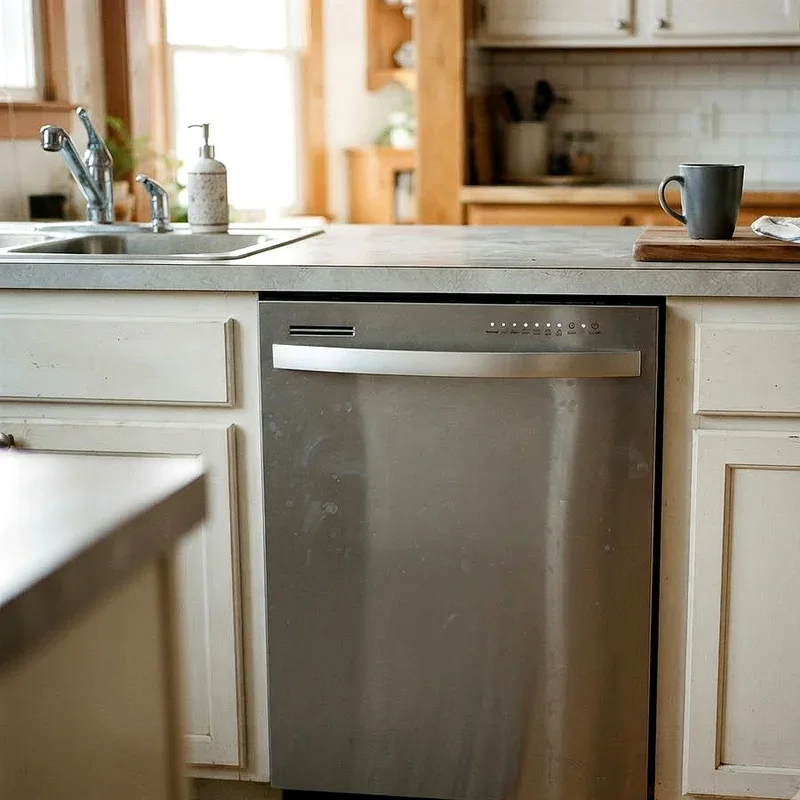
Not sure if your machine actually needs leveling? Here are a few telltale signs to watch for. If your dishwasher door swings open on its own when you unlatch it, that's a strong indication the machine is leaning forward. Water pooling at the front of the tub after a cycle points to the same issue. A door that's tough to close or doesn't latch smoothly could mean one side sits higher than the other. Excessive vibration and noise during operation are also classic symptoms of an uneven appliance. And if you spot water on the floor near the base of the unit, especially after running a full cycle, there's a good chance the machine has shifted out of position.
When to Call a Professional
For the vast majority of situations, leveling a dishwasher is a straightforward do it yourself task that anyone can handle. However, there are a few cases where calling in a professional makes sense. If you've leveled the machine and water continues to leak, the problem might be a damaged door gasket, a faulty inlet valve, or a clogged drain hose rather than a leveling issue. Similarly, if the floor beneath your dishwasher is noticeably uneven or damaged, you might need a contractor to address the subfloor before the appliance will ever sit properly. And if you're not comfortable working around electrical connections or water supply lines, there's no shame in bringing in someone who does it every day. Better to play it safe than to create a bigger mess.
Quick Maintenance Tips to Keep Things Level
Once you've gone through the process of how to level a dishwasher step by step, a little preventive maintenance goes a long way. Every six months or so, do a quick check with your level just to make sure nothing has shifted. Dishwashers can settle over time, especially on softer flooring like vinyl or linoleum. Also, be mindful of how you load the machine. Consistently overloading one side with heavy pots and pans can gradually push the unit out of alignment. Distributing weight evenly across both racks helps the machine stay balanced and reduces wear on the leveling legs.
Keeping the area around and under the dishwasher clean is another good habit. Debris, food particles, or even small objects that roll under the machine can interfere with the legs and throw things off. A quick sweep under the kickplate every now and then prevents these little nuisances from becoming bigger headaches.
Conclusion
Learning how to level a dishwasher step by step is one of those satisfying home repairs that saves you money and takes very little time. With a bubble level, a wrench, and a bit of patience, you can eliminate leaks, reduce noise, and extend the life of your appliance. It's the kind of fix that makes you feel handy without requiring any special expertise. So next time your dishwasher starts acting up, skip the service call and handle it yourself.
Frequently Asked Questions
Q1. How do I know if my dishwasher is not level?
A: Look for door issues, water pooling, unusual noise, or visible rocking during cycles.
Q2. Can an unlevel dishwasher cause water leaks on my floor?
A: Yes, an uneven dishwasher can break the door seal and allow water to escape.
Q3. What tools do I need to level a dishwasher at home?
A: You will need a bubble level, adjustable wrench, screwdriver, and a flashlight.
Q4. How often should I check if my dishwasher is level?
A: Check your dishwasher level roughly every six months or whenever you notice problems.
Q5. Do all dishwashers have adjustable leveling legs for corrections?
A: Most modern dishwashers include adjustable front legs and sometimes adjustable rear legs too.
Stay up to date with our latest ideas!