How to Finish a Butcher Block Countertop Step by Step
Learn how to finish a butcher block countertop step by step with our detailed guide. Discover best finishes, techniques, and maintenance tips.
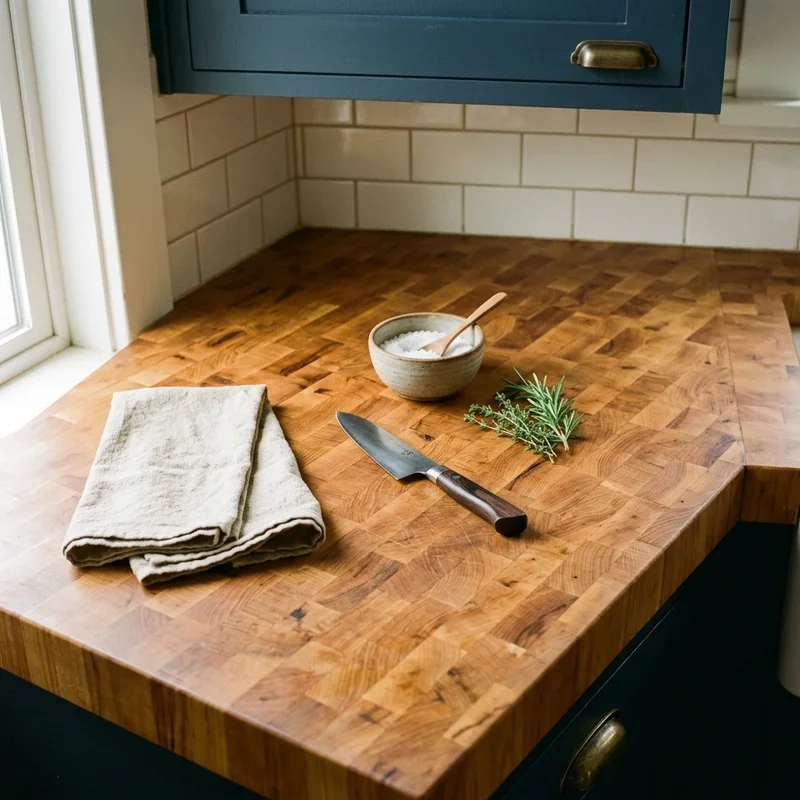
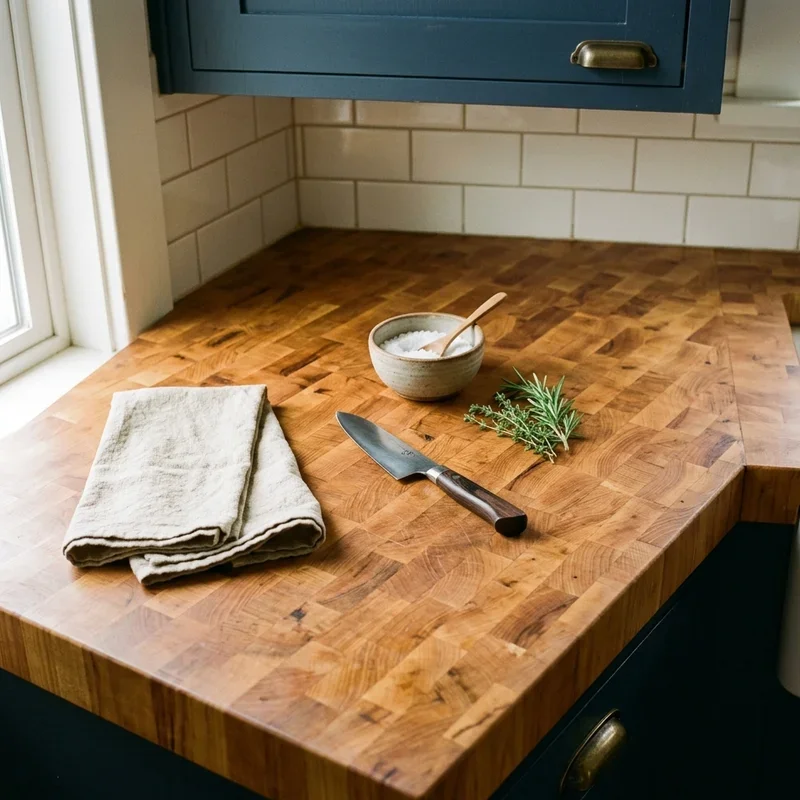
There's something undeniably warm and inviting about butcher block countertops. That natural wood grain, the organic feel under your hands, and the way they make any kitchen feel more like home. But here's the thing that trips up many homeowners. A raw, unfinished butcher block is basically a sponge waiting to soak up every splash, spill, and stain that comes its way.
You've made the investment in beautiful wood countertops, and now the pressure's on to finish them properly. Get it right, and you'll have stunning, durable surfaces that age gracefully over the years. Get it wrong, and you might be dealing with warping, staining, or a finish that peels and looks terrible within months.
The finishing process might seem intimidating, especially if you're not particularly handy. All those options between oils, varnishes, and food-safe sealers can make your head spin. Which one's best? How many coats? How long between applications? The questions pile up fast.
Understanding how to finish a butcher block countertop step by step transforms an overwhelming project into a manageable weekend task that yields professional results. Whether you're finishing brand-new counters or refreshing existing ones, this comprehensive guide walks you through every stage from preparation to final cure.
Ready to give your butcher block the protection it deserves? Let's get started.
Choosing Your Finish Type
The finish you select affects everything from appearance to maintenance requirements.
Food-Safe Oil Finishes
Mineral oil and food-grade butcher block oils represent the most popular choices for good reason. These penetrating finishes soak into wood fibers, providing protection from within rather than forming a surface film. They're completely food-safe, meaning you can cut directly on the surface without concern about contaminating food. Oil finishes are also the most forgiving since scratches and wear simply get refreshed with additional oil applications. The trade-off involves more frequent maintenance compared to film-forming finishes.
Oil and Wax Combinations
Products combining mineral oil with natural waxes like beeswax offer enhanced protection beyond oil alone. The wax component creates a slight surface barrier that repels moisture more effectively than oil by itself. These combination finishes maintain the natural wood appearance while providing improved resistance to water and staining. They require periodic reapplication but less frequently than straight oil treatments.
Polyurethane and Varnishes
Film-forming finishes like polyurethane create a plastic-like coating over the wood surface. These provide excellent moisture protection and require minimal maintenance once cured. However, they change the wood's appearance more dramatically, creating a glossy or satin sheen depending on the product. The major drawback involves cutting. You can't cut directly on polyurethane-finished surfaces without damaging the finish, meaning you'll need cutting boards.
Tung Oil and Similar Options
Pure tung oil and linseed oil offer natural alternatives that penetrate and harden within wood fibers. These finishes provide excellent water resistance once fully cured while remaining more natural than synthetic options. Curing time extends longer than other choices, sometimes taking weeks for full hardness. Some formulations aren't food-safe, so verify before purchasing.

How to Finish a Butcher Block Countertop Step by Step: Preparation Phase
Proper preparation determines how well your finish performs and lasts.
Sanding the Surface
Start with medium-grit sandpaper around 120 grit to remove any existing finish, rough spots, or imperfections. Sand in the direction of the wood grain, never against it, to avoid scratching the surface. Progress through finer grits, typically 150, then 180, and finally 220 for a silky smooth surface. Each progression removes the scratches from the previous grit while refining the surface texture.
Removing Dust Completely
Sanding creates tremendous amounts of fine dust that will ruin your finish if not removed completely. Vacuum the surface thoroughly using a brush attachment. Follow with a tack cloth, wiping the entire surface to capture any remaining particles. Wipe adjacent areas as well since dust can migrate back onto your prepared surface. Don't skip this step since trapped dust creates bumpy, unprofessional results.
Conditioning the Wood
Some woods benefit from pre-conditioning before final finish application. Pre-stain conditioner helps ensure even finish absorption, particularly important for soft or blotchy woods like pine or maple. Apply conditioner according to product directions and allow it to penetrate before proceeding. Not all finishes require conditioning, so check your specific product recommendations.
Environmental Considerations
Temperature and humidity affect finish application and curing significantly. Work in conditions between sixty and eighty degrees Fahrenheit when possible. Humidity above seventy percent slows drying and can affect finish quality. Ensure adequate ventilation both for your safety and proper curing. These environmental factors matter more than most people realize.
Applying Oil Finishes
Oil finishes are the most popular choice for butcher block countertops.
First Coat Application
Pour a generous amount of mineral oil or butcher block oil directly onto the wood surface. Use a clean, lint-free cloth to spread the oil evenly across the entire surface, working it into the wood grain. Don't be stingy here since the wood will absorb substantial amounts during the first application. Allow the oil to penetrate for twenty to thirty minutes before wiping away any excess.
Building Up Protection
Apply additional coats following the same process, allowing adequate drying time between each application. Most oils require at least four to six hours between coats, though overnight waits are often better. Continue adding coats until the wood stops absorbing oil readily, typically three to five applications for new countertops. Each coat builds on the previous one, creating cumulative protection.
Final Coat Technique
Your final coat should be applied more sparingly than previous applications. Rub the oil in thoroughly, then buff away all excess until the surface feels dry rather than greasy. This final buffing prevents sticky residue while leaving the wood protected and beautifully finished. The surface should feel smooth and natural, not slick or oily.
Curing Time Requirements
Allow your oil finish to cure fully before heavy use, typically twenty-four to forty-eight hours after the final application. Light use can begin sooner, but avoid placing wet items or cutting on the surface until curing completes. Curing time extends during high humidity or cooler temperatures.
How to Finish a Butcher Block Countertop Step by Step: Film Finishes
Polyurethane and similar finishes require different application techniques.
Thin Coat Importance
Apply polyurethane in very thin coats to prevent runs, drips, and uneven curing. Thick applications look tempting for faster coverage but create problems that are difficult to fix later. Use a high-quality brush or foam applicator, loading it lightly with product. Spread evenly with long, smooth strokes following the wood grain direction.
Sanding Between Coats
Light sanding between coats creates mechanical adhesion between layers. Use 220-grit sandpaper, applying gentle pressure to scuff the surface without cutting through to bare wood. Remove all sanding dust with a tack cloth before applying the next coat. This step ensures layers bond properly and creates the smoothest final finish.
Building Multiple Layers
Most polyurethane finishes require three to four coats for adequate protection. Allow each coat to dry according to product specifications before sanding and recoating. Rushing between coats creates adhesion problems and can result in the finish peeling later. Patience during this phase yields significantly better long-term results.
Final Coat Finishing
Your final coat receives no sanding since you want to preserve its smooth surface. Apply even more carefully than previous coats, watching for any drips or heavy spots as the finish begins to set. Allow extended curing time before any use. Most polyurethanes require several days to reach full hardness despite feeling dry much sooner.
Applying Wax Finishes
Wax provides additional protection over oil-treated surfaces.
Wax Application Process
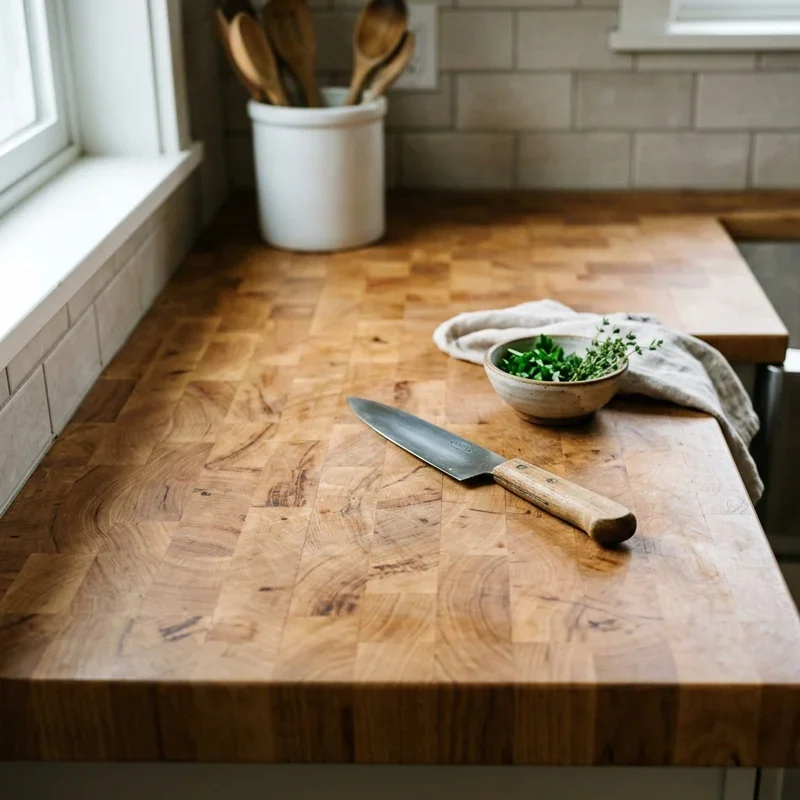
After oil has cured, apply butcher block wax using a clean cloth or applicator pad. Work the wax into the wood using circular motions, ensuring even coverage across the entire surface. The wax fills wood pores and creates a protective barrier that oil alone doesn't provide. Use a moderate amount rather than thick layers that become difficult to buff.
Buffing to Shine
Allow wax to haze slightly, typically fifteen to twenty minutes after application. Buff vigorously with a clean, soft cloth until the surface develops a smooth, low-luster sheen. The buffing action warms the wax and helps it bond with the underlying oil treatment. Continue buffing until the surface feels smooth and dry without any waxy residue.
Maintenance Applications
Wax treatments require periodic refreshment depending on use and cleaning frequency. Most butcher block surfaces benefit from wax reapplication monthly or when water stops beading on the surface. Maintenance applications are much faster than initial treatments since less product is needed. This ongoing care keeps protection optimal.
Edge and Underside Treatment
Don't neglect areas that aren't immediately visible.
Why Undersides Matter
Moisture can enter wood from any direction, including from below. Finishing only the top surface creates moisture imbalance that can cause warping and cupping over time. Even though nobody sees the underside, protecting it helps your countertop remain flat and stable throughout its life. This extra step takes minimal time but provides significant long-term benefits.
Edge Sealing Importance
Countertop edges are particularly vulnerable to moisture exposure from spills and splashes. Apply the same finish to all edges as you do the top surface. End grain, where visible on butcher block, absorbs moisture even faster and deserves extra attention. Generous finish application on edges prevents water damage that starts from the sides and works inward.
Application Technique for Edges
Apply finish to edges using a brush or smaller cloth that allows precise control. Work finish into any grain that's exposed on end grain edges. Allow proper drying and apply multiple coats just as you would the main surface. Don't forget sink cutouts if applicable since those edges are exposed to significant moisture.
Sink Cutout Considerations
Areas around sinks require special attention due to moisture exposure.
Sealing Cutout Edges
Freshly cut edges around sink openings expose raw wood that absorbs water readily. Apply finish generously to these edges before sink installation. Multiple coats provide better protection than single applications. Consider using a more water-resistant finish like polyurethane on these edges even if using oil on the main surface.
Silicone Application
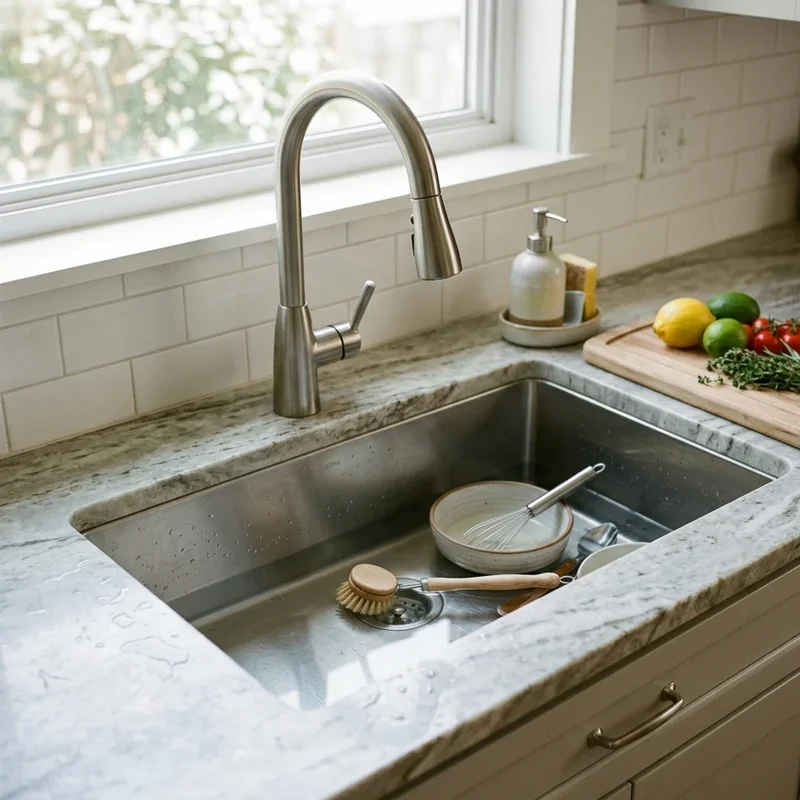
While not technically a finish, silicone caulk around sink installations prevents water from reaching wood edges. Apply after your finish has fully cured. Choose kitchen-rated silicone designed for sink installations. This barrier provides crucial protection where water exposure is highest.
Troubleshooting Common Problems
Even careful work sometimes encounters issues worth addressing.
Sticky Residue
Excess oil that wasn't wiped away can leave sticky residue that attracts dirt and feels unpleasant. Wipe the surface with a clean cloth dampened with mineral spirits to remove excess. Allow to dry completely before applying your final thin coat properly wiped. Prevention through thorough wiping beats correction every time.
Uneven Absorption
Some areas absorbing finish more than others creates a blotchy appearance. Sanding and reapplying finish often resolves this issue. Wood conditioner before finishing helps prevent uneven absorption. Consistency in application technique also helps achieve uniform results.
Finish Peeling
Film finishes that peel usually indicate adhesion problems between coats or application over contaminated surfaces. The only fix involves sanding down to bare wood and starting over. Proper surface preparation and sanding between coats prevents this frustrating outcome.
Maintenance and Reapplication
Proper ongoing care extends the life of your finish significantly.
Oil Finish Maintenance
Oil-finished countertops require regular reapplication, typically monthly for heavy-use kitchens. Watch for dull spots or areas where water no longer beads. Maintenance applications are quick since only a thin coat is needed. This ongoing care becomes simple routine once established.
Film Finish Durability
Polyurethane finishes require less frequent attention but aren't maintenance-free. Clean regularly with mild soap and water. Avoid harsh chemicals or abrasive cleaners. Eventually, refinishing becomes necessary, typically after several years of use.
Signs Refinishing Is Needed
When finish appears worn, water no longer beads, or stains begin developing, comprehensive refinishing is warranted. This involves sanding back to bare wood and repeating the entire finishing process. Most butcher blocks require complete refinishing every few years depending on use intensity.
Conclusion
Mastering how to finish a butcher block countertop step by step protects your investment while enhancing natural wood beauty for years of enjoyment. Whether choosing oil finishes for food-safe cutting surfaces or polyurethane for maximum protection, proper preparation and patient application deliver professional results. Regular maintenance extends finish life and keeps your countertops looking beautiful through daily use. Taking time to finish properly now prevents problems later while creating surfaces that become even more beautiful with age.
Read next: 15 Microwave Ideas for Small Kitchens for Better Layouts
Frequently Asked Questions
1.How long should I wait before using my finished butcher block countertop?
Allow minimum 24-48 hours for oil finishes and several days for polyurethane before normal use.
2.Can I cut directly on oil-finished butcher block countertops?
Yes, oil finishes are food-safe and designed for cutting surfaces that can be easily refreshed.
3.How often do I need to reapply oil finish to my butcher block?
Reapply monthly for heavy use kitchens or when water stops beading on the surface properly.
4.Is mineral oil the same as butcher block oil?
Food-grade mineral oil works, though specialized butcher block oils often include beneficial conditioning additives.
5.Can I switch from polyurethane to oil finish on existing countertops?
Yes, but you must completely sand away all polyurethane down to bare wood first.
Stay up to date with our latest ideas!